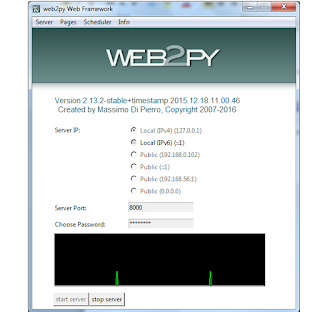
1. Start web2py
2. Usually blog will have post and view the post details
3. Validations required to validate the post
4. Database design to store title, content, image category , blog posted date etc..
First we need to create model

5. Edit the db.py file
6.End of the file add the below code, to create a table 'blog' along with columns
db.define_table('blog',
                 Field('blog_title'),
                 Field('blog_details'),
                 Filed('blog_image'),
                 Field('blog_url'),
                 Field('blog_category'),
                 Field('blog_date_posted'))
We need to use validators inside model, more validators look inside
http://web2py.com/examples/static/web2py_cheatsheet.pdf
db.define_table('blog',
                 Field('blog_title', requires=IS_NOT_EMPTY()),
                 Field('blog_details', type='text'),
                 Filed('blog_image',requires=IS_URL()),
                 Field('blog_url',requires=IS_URL()),
                 Field('blog_category',requires=IS_IN_SET(['News','Events','Technology','Business'])),
                 Field('blog_date_posted', type='date',requires=IS_DATE()))
7. Need to add validation for table details

8.Now we need to create a controller, to post the blog app
9.Create controller name called blog under controller section
10.Edit blog.py
11. Add two methods one is called post and one is view

def post():
       form =SQLFORM(db.blog).process()
       return locals()
      def view():
      rows = db(db.blog).select(orderby=~db.blog.id)
      return locals()

12.Now we need to create views as blog/post and blog/view
13.Edit the blog/post.py
{{extend 'layout.html'}}
post a blog as you like
{{=form}}
http://127.0.0.1:8000/sivaweb2py/blog/post

14.If you submit without entering any values, then it will show the validation errors

Provide the details as required and submit the same. You can see the success message.
Need to know more about SQLFORMS and validators
http://web2py.com/books/default/chapter/29/07/forms-and-validators
Now we need to update the blog
Edit the blog.py and add the below code for update method
def update():
    record = db.blog(request.args(0)) or redirect (URL(post))
    form = SQLFORM(db.blog,record)
    if form.process().accepted:
        response.flash = T('Record Updated')
    else:
        response.flash=T('Please complete the form')
    return locals()

Create update view under views section
{{extend 'layout.html'}}
Update the form
{{=form}}
Click on the below link to update the record or provide number after update method which ever record want to update
http://127.0.0.1:8000/sivaweb2py/blog/update/1

Now we need to create the view page
{{extend 'layout.html'}}
View the blog
{{ for x in rows:}}

categrory:{{=x.blog_category}}
blog Details:{{=x.blog_details}}
blog posted:{{=x.blog_date_posted}}
{{ pass }}

After adding the above code in view.py, if we check the result using below url
http://127.0.0.1:8000/sivaweb2py/blog/view

This is how we can create a blog app using web2py.